Always have some small projects at hand when working with epoxy resin or resin clay projects. This precaution means you will be able to use up every last scrap of resin or resin clay you made up. Here is a quick and easy tutorial where I did just that.
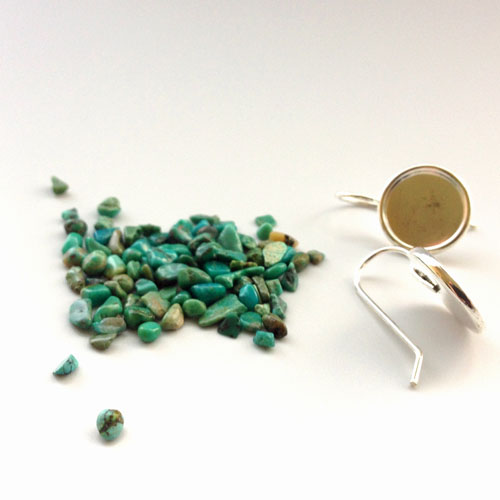
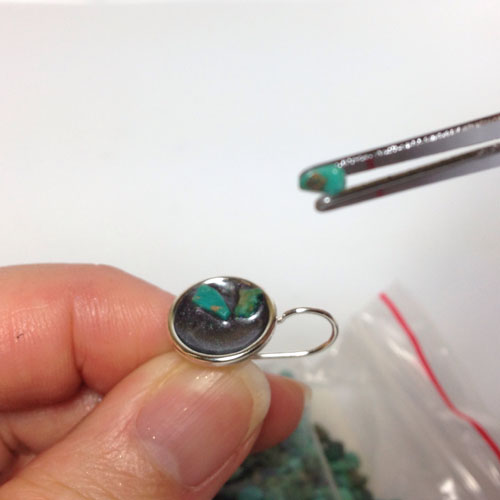
I used really tiny hole-less turquoise chips as well as these all in one
Nunn Design Silver Plated Pewter Bezel Small Round Earrings 
(they are also available in different metal colors and shapes).
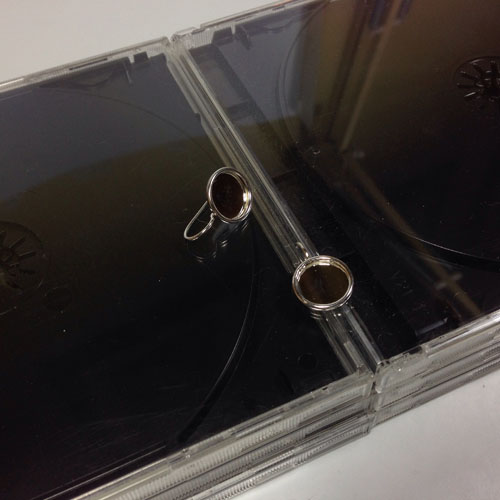
Here is a good tip. You need to rig up a levelling support anytime you use a bezel which does not lay flat. Such as in the bail of a bezel pendant or the ear hook part of these earring bezels. So before you start, find two boxes or as you can see below, two equal stacks of empty CD cases. The gap between the stacks allows the hook sections to drop below. The bezel needs to be level while the resin is curing.
I used
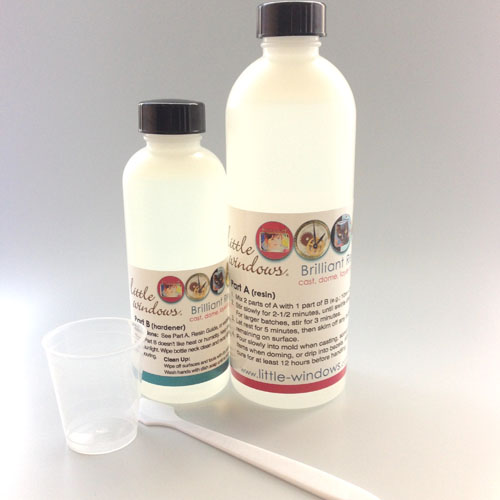
Little Windows' Brilliant Resin which I like for several reasons - colorless, low bubble producer and good doming resin.
ICE Resin
is another good jewelry resin. Just follow the instructions to make up the resin.
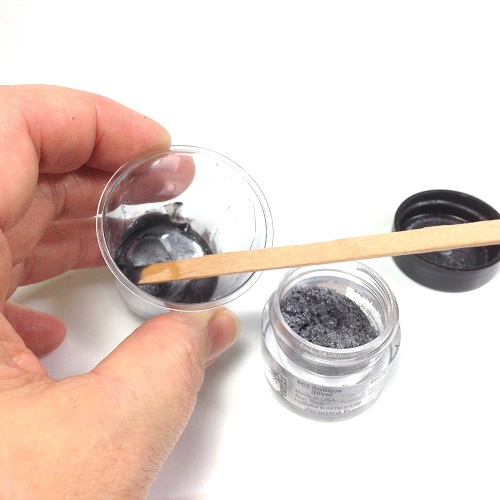
I had a little resin left over after my main projects were done. So I added a little mica powder Jacquard Pearl EX in"antique silver".
Try Amazon for the set of Jacquard Pearl EX Set (Series 3)
for about $20. They also sell single pots over there. Michaels also sells them.
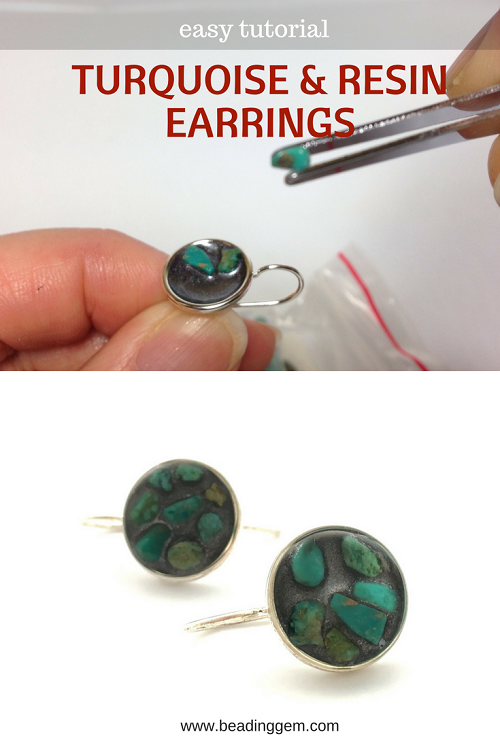
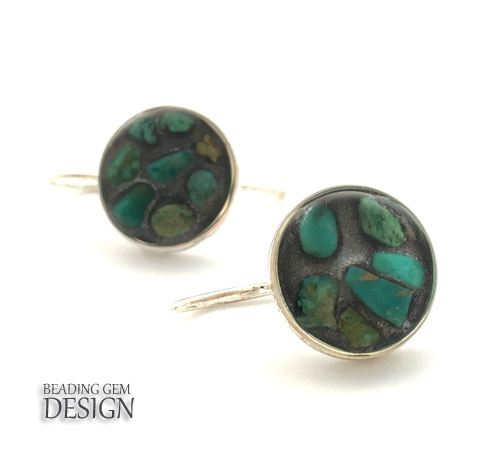
I added just a little of the colored resin to the bezels. Then I carefully placed the turquoise chips in the wet resin. Then I placed the bezels on my CD support system then covered the whole thing with a plastic container to keep the dust out. I let the resin cure for 12-24 hours. I then added another doming layer of clear resin and let that cure too.
And that was it!! Easy peasy.
DisclosureI do receive a small fee for any products purchased through affiliate links. This goes towards the support of this blog and to provide resource information to readers. The opinions expressed are solely my own. They would be the same whether or not I receive any compensation.
PhotographyI used natural light, my iPhone 6S with the camera+ app and the Modahaus TS320 tabletop studio for the final earrings photo. The tutorial pictures are taken using artificial light in my windowless basement studio. Check out my
How to Photograph Jewelry Webinar .
Before You Go:______________________________
Original Post by
THE BEADING GEMJewelry Making Tips -
Wire JewelryTips -
Jewelry Business Tips 


No comments:
Post a Comment