It is no surprise wire work and wire wrapping in particular is such a popular technique. The use of metal is always a plus as the material is durable and strong. But best of all, it is a cold connection method which allows you to connect components with just inexpensive tools. No soldering or torch work needed! Team it with lovely gemstone crystals as shown in this Craftsy class and you will have luxurious designs.
I received Polish designer's
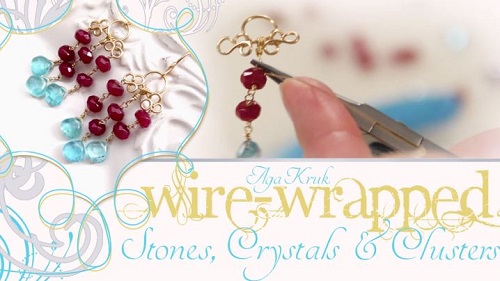
Aga Kruk : Wire Wrapped Stones, Crystals and Clusters Craftsy Class for review. It certainly meets the needs of those who love wire work AND gemstones and crystals. The designer clearly loves gemstone crystals and has a great eye for picking just the right kinds for her projects. The variations she shows at the end of each lesson are worth the view.
As with all
Craftsy classes (all
currently on sale until the end of today - September 5) the format is such students can watch the class when and where they want and as many times as necessary to learn a technique. You will be able to ask Aga any questions.
At nearly 5.5 hours, this is one of the longer Craftsy classes. However, the steps are all carefully covered so beginners will not be lost.
Lesson 1This is the introduction where the designer covers the wire types, tools, mandrels, stones and crystals she uses for the class. The tools are all worth putting down on a must have list if you do not own them. The good news is these are not expensive tools!
Lesson 2This covers the wire wrapping basics which is for absolute wire work beginners. The instructor covers how to make perfect wire loops and wrapped loops. She even demonstrates how bad loops are made and how to correct some common errors. I agree with her, always practice with craft wire before moving on to precious metal wire. Precious metal wire is best paired with gorgeous gemstone crystals!
Just one small note when she covered the wire wrapping of briolettes, she called these side drilled beads top drilled ones which might confuse some people. Top drilled beads and pendants have vertical holes.
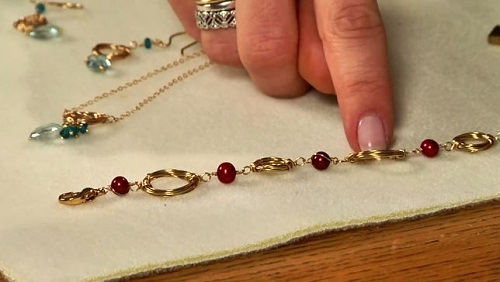
Lesson 3This class covers the making of her
Bead Circle Earrings as well as the ear wires. A simple stepped wire mandrel tool is used here. At the end, she shows how the basic wire circle can be used for a whole bunch of lovely necklaces, bracelets and even as an eye glass holder! The wire circle is an excellent versatile design element.
Lesson 4This class is all about how to create your own small chandelier findings out of wire to show off awesome crystals! This lesson is where she begins to teach wire wrapping with thin gauge wire. This is one of my favorite lessons as she has a wonderful approach to creating the chandelier components. Like the previous project, the handmade finding can varied and be used as connectors for other bracelet or necklace designs. Her inspirational examples including the ring are gorgeous!
She uses round nose pliers effectively. You could also use bail forming pliers which are easier for consistent loops.
Lesson 5This
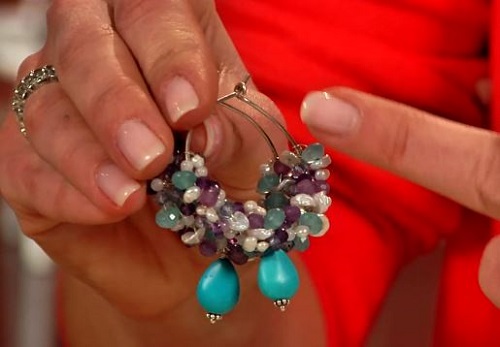
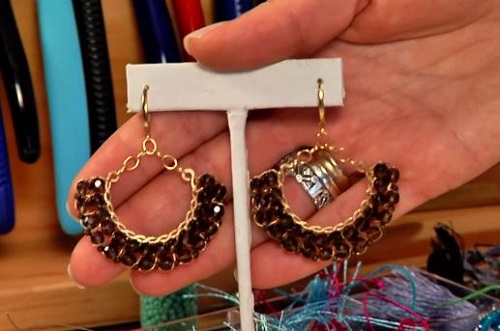
Cluster Hoop Earrings project starts with the making of a hammered hoop finding. This style has a wire loop catch. The style means the hoop can be left open for faster wire wrapping of the beads. Towards the end she also shares the boiled egg method of antiquing sterling silver designs.
Some people will find larger versions these hoop earrings on the heavy side so smaller ones are better or use it to create a pendant. Again the inspirational examples given shows how versatile this design can be.
Lesson 6This was another favorite of mine. More challenging for beginners as there is greater precision needed to create these lovely pair of twisted wire wrapped hoop earrings. She uses a power drill but there are all kinds of other wire twisting tools out there. The twisted wire must be twisted just tightly enough to still have open spaces for the wire wrapping.
She uses a ring mandrel which is conical to create the twisted wire jump rings. Here is a better suggestion. Dowels or even metal pipes (from the car exhaust or plumbing section of hardware stores will give even sized rings.
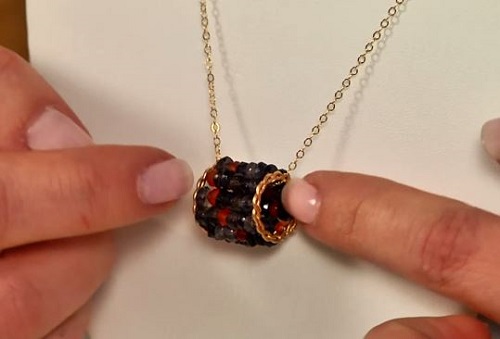
Her inspirational bangle design using this twisted wire technique is gorgeous as is this pendant variation :
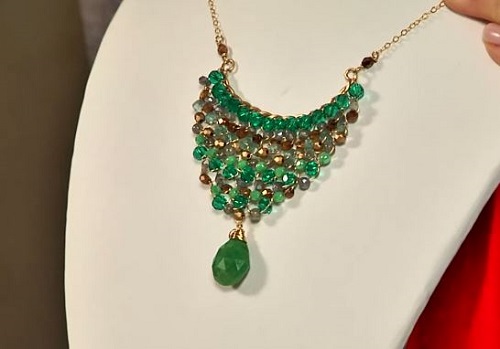
Lesson 7The twisted wire curves creation of this project is similar to the previous lesson. The wire curves are a simple foundation for the wire wrapped gemstone beads below.
This inspirational variation is simply stunning!
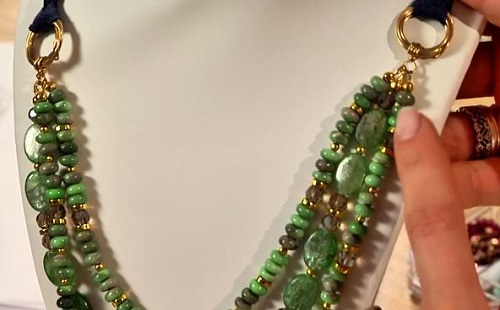
Lesson 8This lesson is actually on how to make multi stranded necklaces. It helps beginners who are new to jewelry making. You can use some of the earlier wire component lessons for multi stranded designs.
Lesson 9This is the bonus section on fun wire forms.
The lack of good, clear final project images in many of the lessons is a real shame as students don't get better impressions on how good these designs are. And how beautiful the gemstones are. However, this is a minor point. The class is an excellent one which I would recommend for those starting out on wire work. More seasoned wire workers could still learn from some of innovative design lessons.
All Craftsy Classes are currently on sale until the end of today (September 5, 2016).
 Before You Go : Other Craftsy ClassesWire Jewelry Metal Work
 Resin and Clay Work
Free Class
DisclosureI do receive a small fee for any products purchased through affiliate links. This goes towards the support of this blog and to provide resource information to readers. The opinions expressed are solely my own. They would be the same whether or not I receive any compensation.
______________________________
Original Post by
THE BEADING GEMJewelry Making Tips -
Wire JewelryTips -
Jewelry Business Tips 


No comments:
Post a Comment